Getting Started On Amazon: Setting Up Your Your Pro-Merchant Account
Before you start, be sure you have the following items available:
1. A credit card that can be charged internationally
2. Your banking information, such as your routing and account numbers
3. Your tax id information, either for yourself or your business
Things to consider:
1. If you like to keep business and personal emails separate, use a different email address for your Pro merchant account, rather than upgrading your existing “amazon prime” account.
2. All Seller Central accounts must have unique email addresses, So, for example, if you are setting this up for the business you work for, don’t use your personal email account.
3. Pro merchant account is $39.99 per month. If you chose the individual seller plan, there is no monthly fee, but you will be charged $0.99 per item sold. Do the math – if you think you will sell more than 40 items in a month, chose the pro plan. If not, you can upgrade later.

To open an Amazon Pro Merchant account:
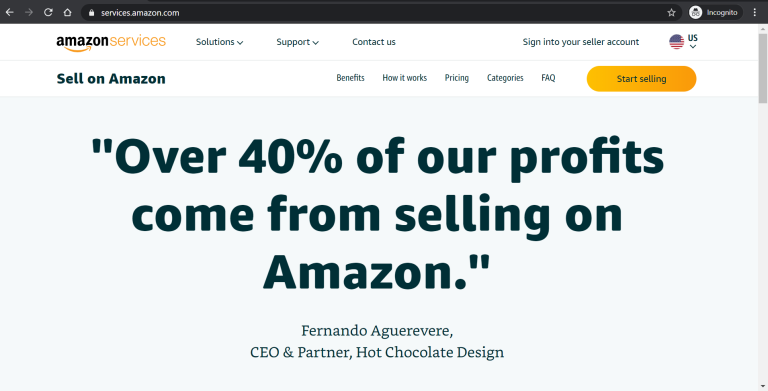
– Go to https://services.amazon.com/
– Scroll down and click on the “Selling on Amazon” link
– Click ‘Create your Amazon account”
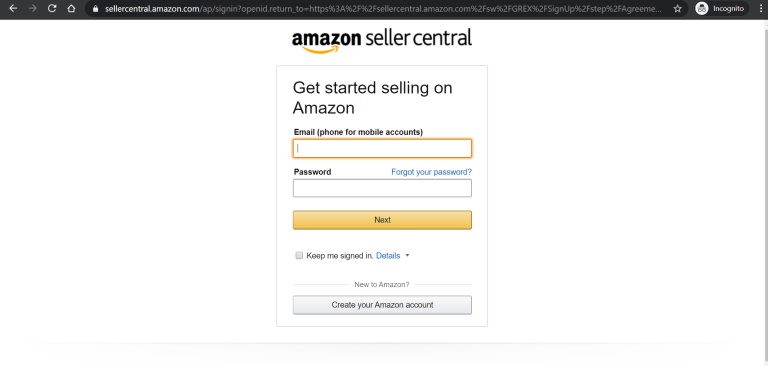
– Enter your name, and verifiable email address and password
– Click next

– Enter the OTP (one time PIN) you received in your email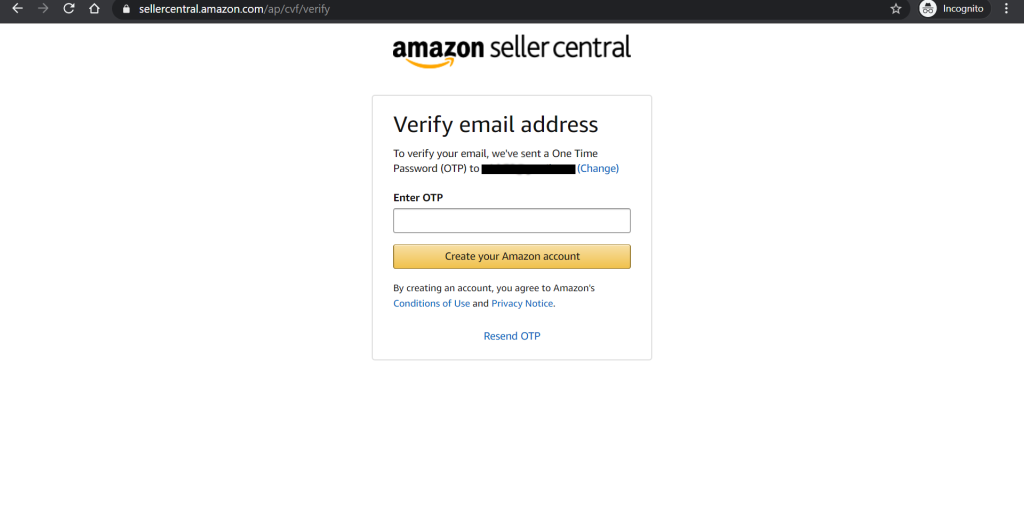
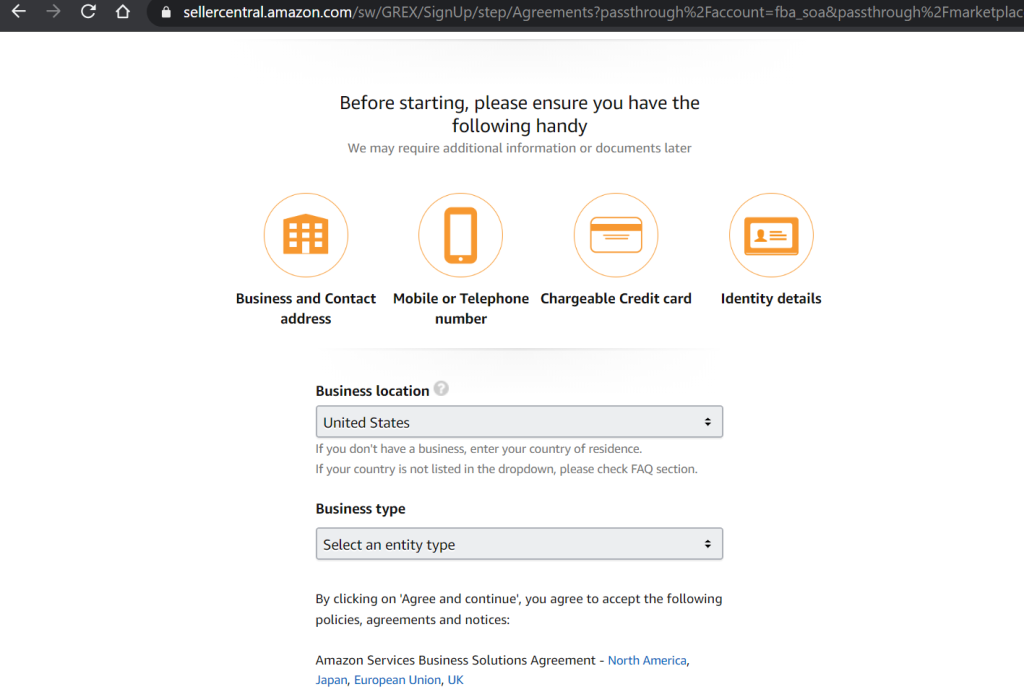
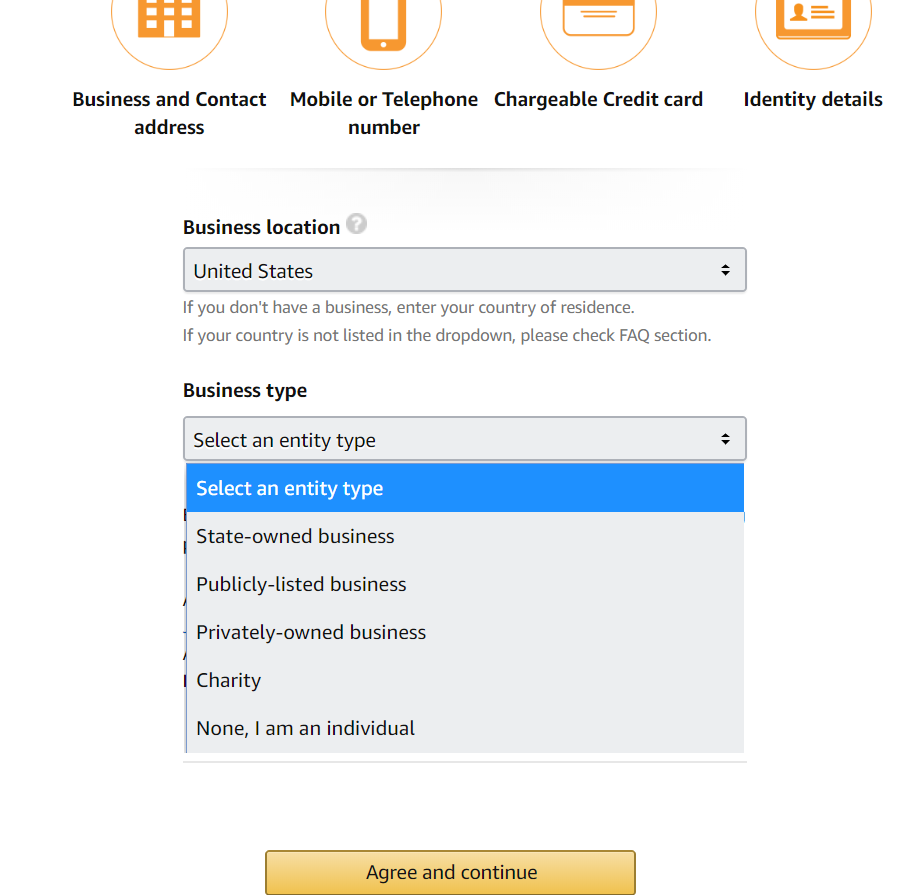
– Chose your business type from the drop down (be sure to chose the right type)
– Enter your business name – this will also be the name of your Amazon store, so be sure to chose something professional
– Enter business address; you will also have to enter a valid phone number that will be used to contact you either via text message or phone call. You will need to have the phone attached to the number you enter available to complete this step
– Chose your business country and type from the drop down
Be sure to chose the correct one, or you will have trouble during the tax interview steps

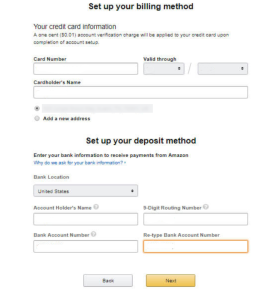
Set up your billing method
– Enter your billing information.
This is where any fees will be charged to, including any advertising fees, should you chose to run ads, or any Amazon fees.
Your deposit method will be where any sales go to
– Next, you’ll need to enter your tax information.
Be sure to get those documents we mentioned at the start of this post.

– Enter the need information. Amazon will then produce a W-9 form for you. This process is generally quick and Amazon will validate your information with the IRS in minutes.

– Now, you’ll enter general information about your product(s).
You can skip this step and enter it later, if you’d like.


